Why Your UV Lamps Keep Acting Up (And How We Fixed It)
Ever deal with that annoying “tacky” feeling on a finished product? You think it’s cured, you touch it, and it’s still sticky. Usually, that’s because of spectral drift. Most standard UV lamps aren’t stable. If the wavelength shifts by just a few nanometers, your photoinitiators simply won’t trigger. It’s like trying to turn a key in a lock that’s slightly bent—it just won’t click.
Keeping the Light Steady
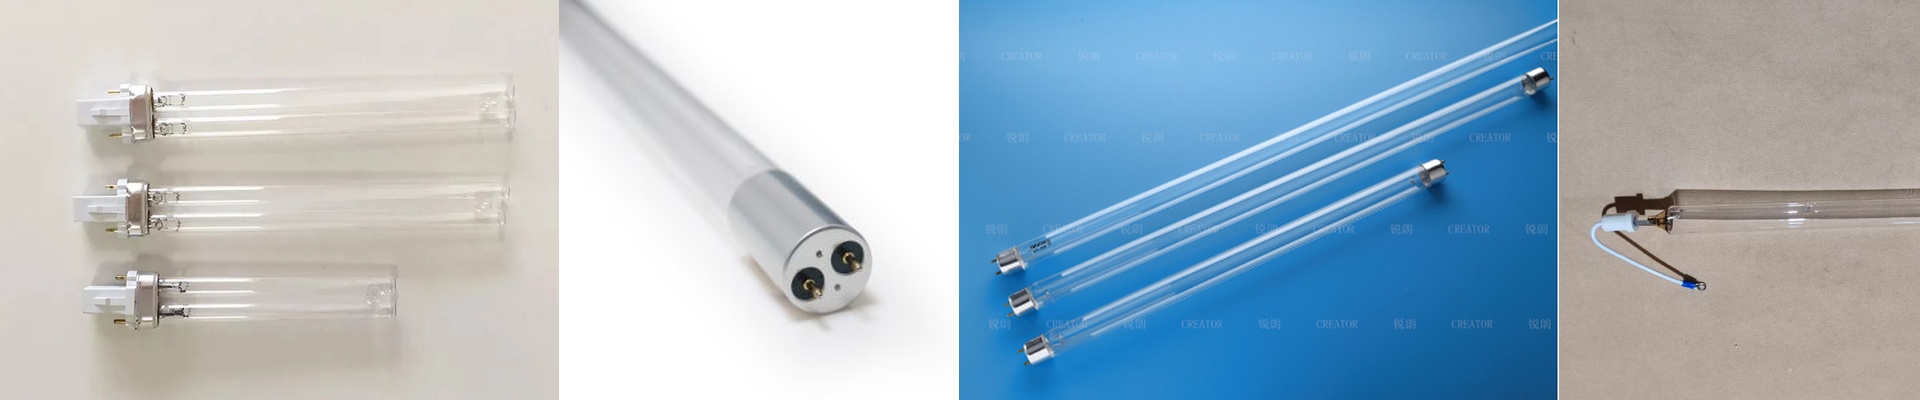
We spent a lot of time figuring out how to keep that UVC output from dipping over time. The real headache is the electrodes. They tend to sputter, which gunk up the quartz envelope and kill your light output. To stop that, we used high-purity quartz and dialed in the mercury vapor pressure. The result? You get a consistent glow from one end of the tube to the other, and the lamp doesn’t dim nearly as fast as the cheap stuff.
The Heat Struggle
Here’s the thing about high-intensity curing: more power means faster speeds, but it also means a ton of heat. If you just crank the wattage, you risk warping your substrates or literally frying the lamp’s internals. It’s a balancing act. We’ve tuned the power density so you get the speed you need without the lamp burning out in a heartbeat. Just a heads-up: make sure your conveyor speed and cooling fans can actually handle the heat. If they can’t, you’re just baking your product.
Getting It Running
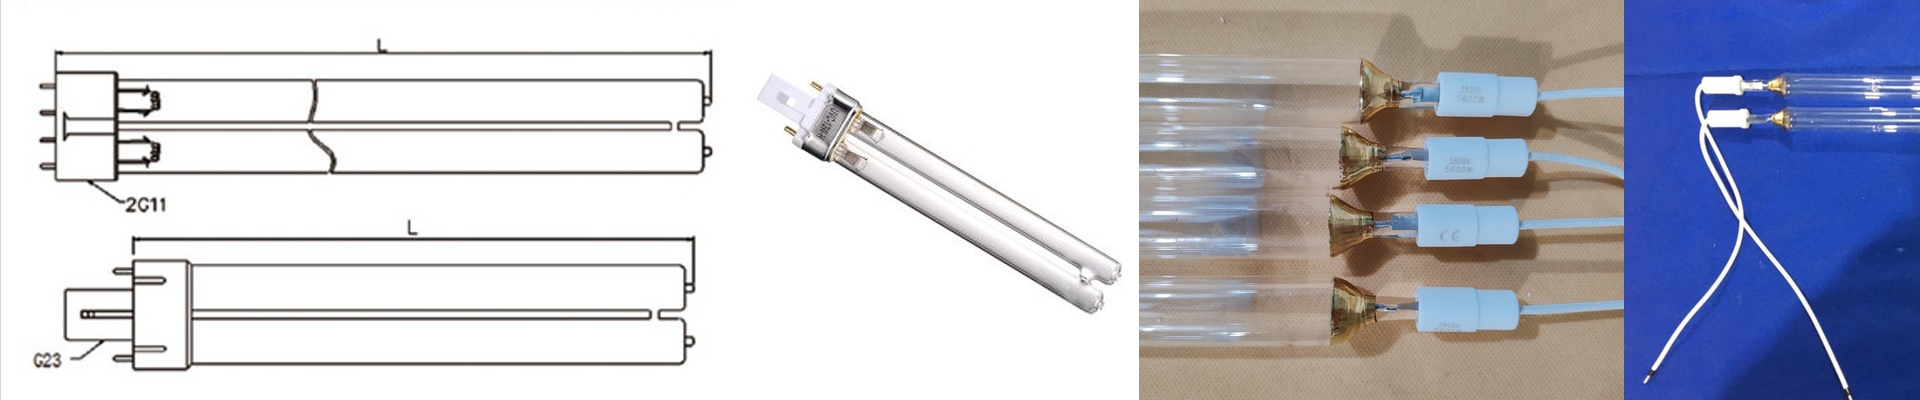
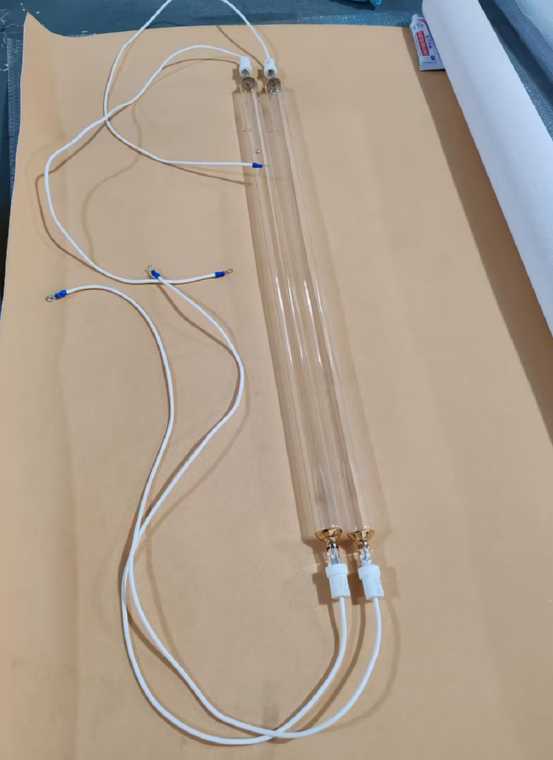
These are designed to be simple drop-in replacements. No fuss. We obsessed over the fit of the end-caps because a loose connection is a death sentence for a lamp. A tiny gap creates an arc point, and then—pop—your lamp is dead. One last tip: keep your ballast voltage steady. We’ve seen voltage spikes shave hundreds of hours off a lamp’s life. If you want to actually hit those long-life numbers we see in the lab, steady current is the only way to go.