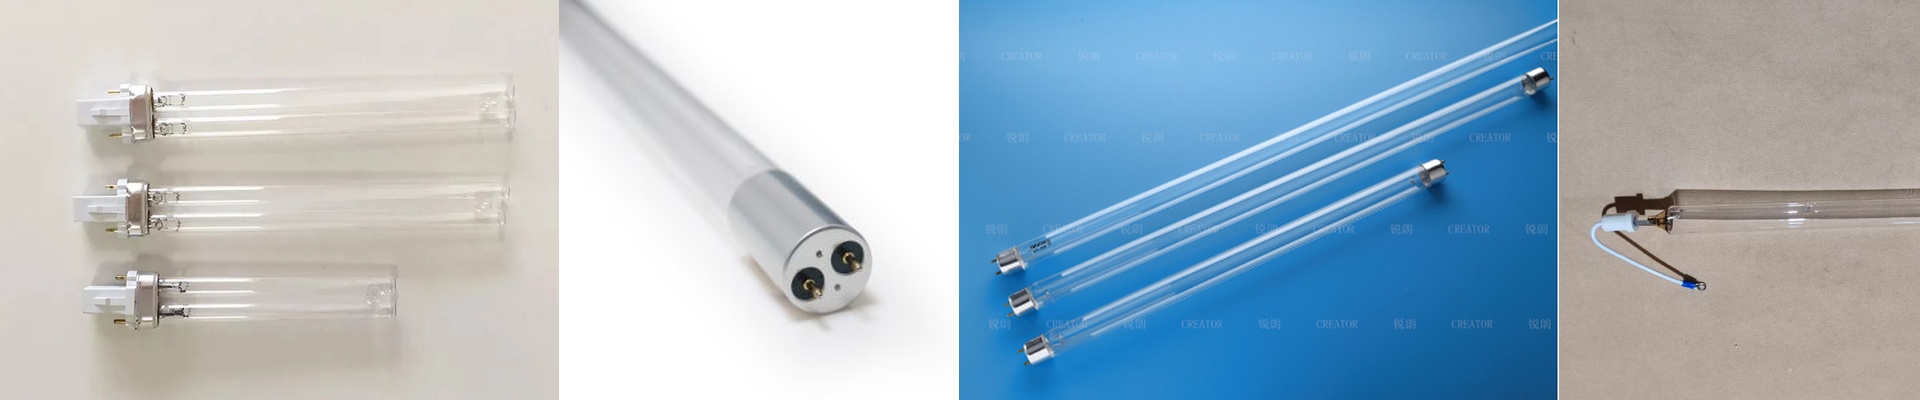
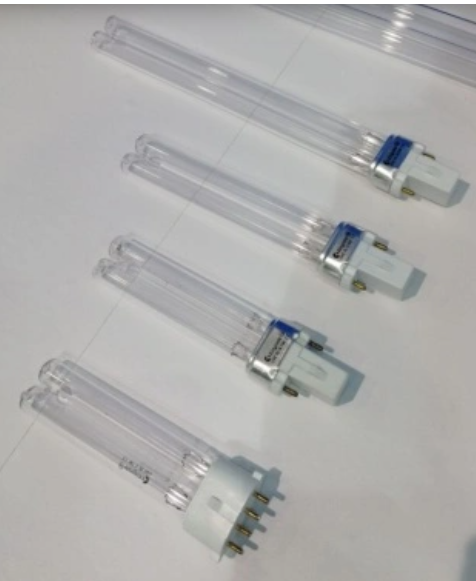
How Mercury UV Curing Lamps Actually Work
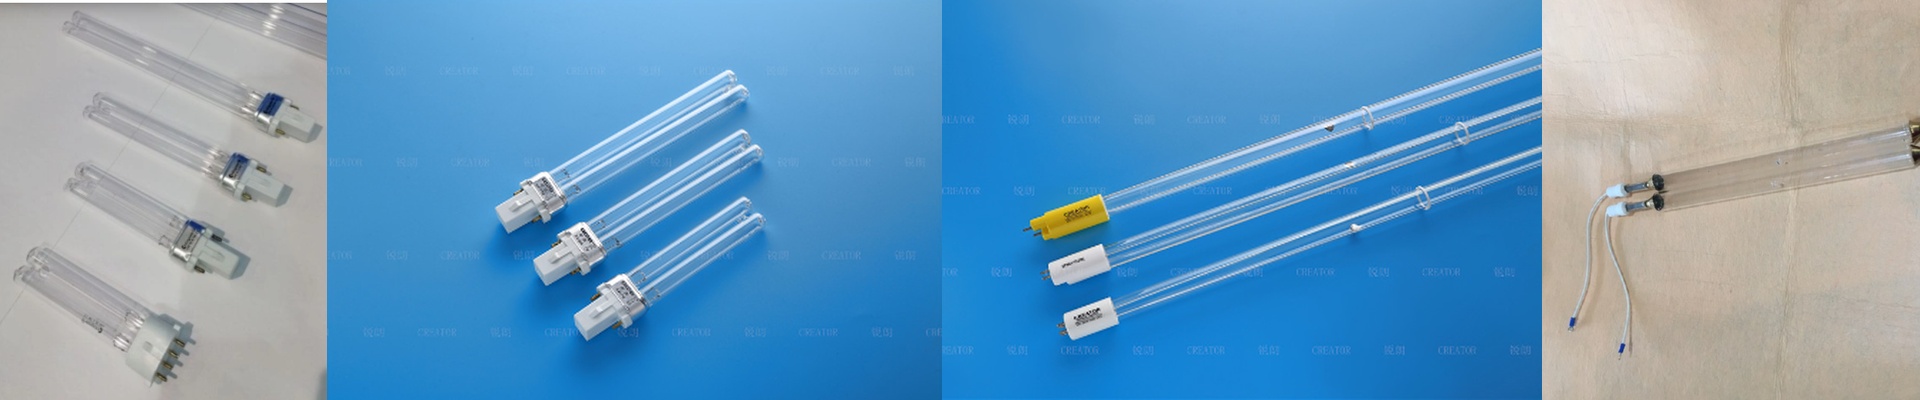
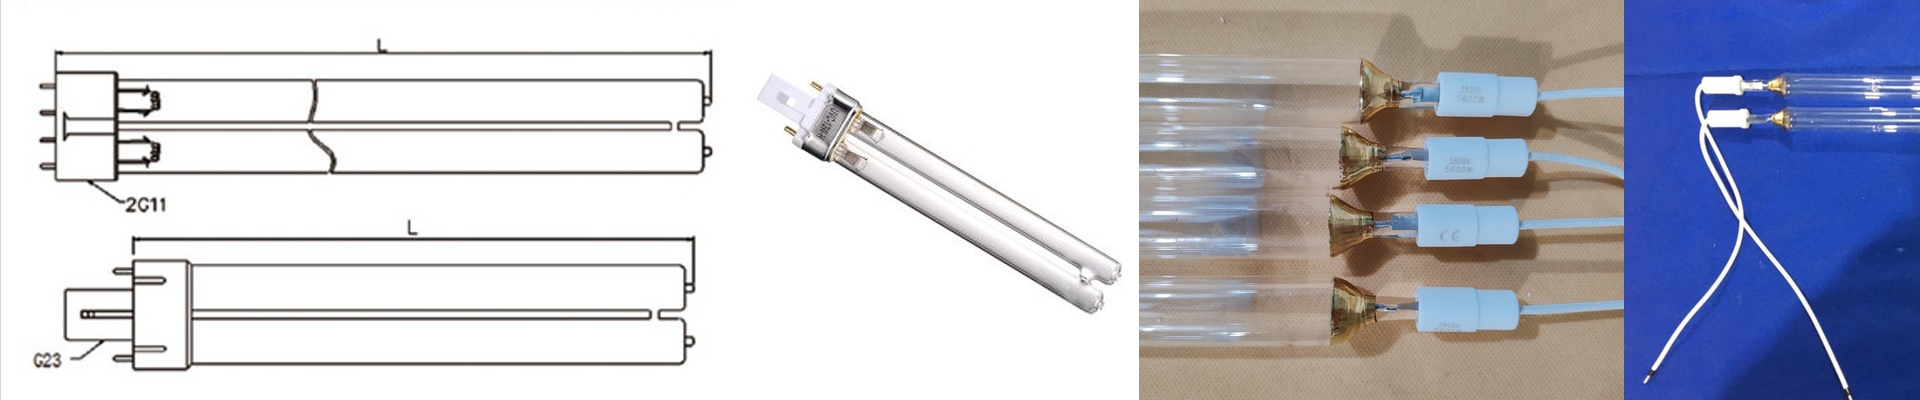
Here is the deal with mercury bulbs: they work by exciting mercury vapor to kick out specific light waves—mostly around 254nm and 365nm. We build them this way because those specific peaks are what trigger the “magic” that makes UV inks and coatings harden instantly. It’s basically a matching game. You just have to make sure the lamp’s light hits the exact spot where your photoinitiator is looking for it.
Dealing with Heat and Power
When we’re picking a bulb, it all comes down to how much light (or irradiance) is actually hitting your product. Want to speed up your production line? Crank up the wattage. More photons means faster curing. But there’s a catch. These high-output lamps put off a ton of infrared heat. If your cooling system can’t keep up, you’re going to have a bad time. We’ve seen it happen—parts warping or coatings getting scorched because the heat had nowhere to go.
The Glass and the Gas
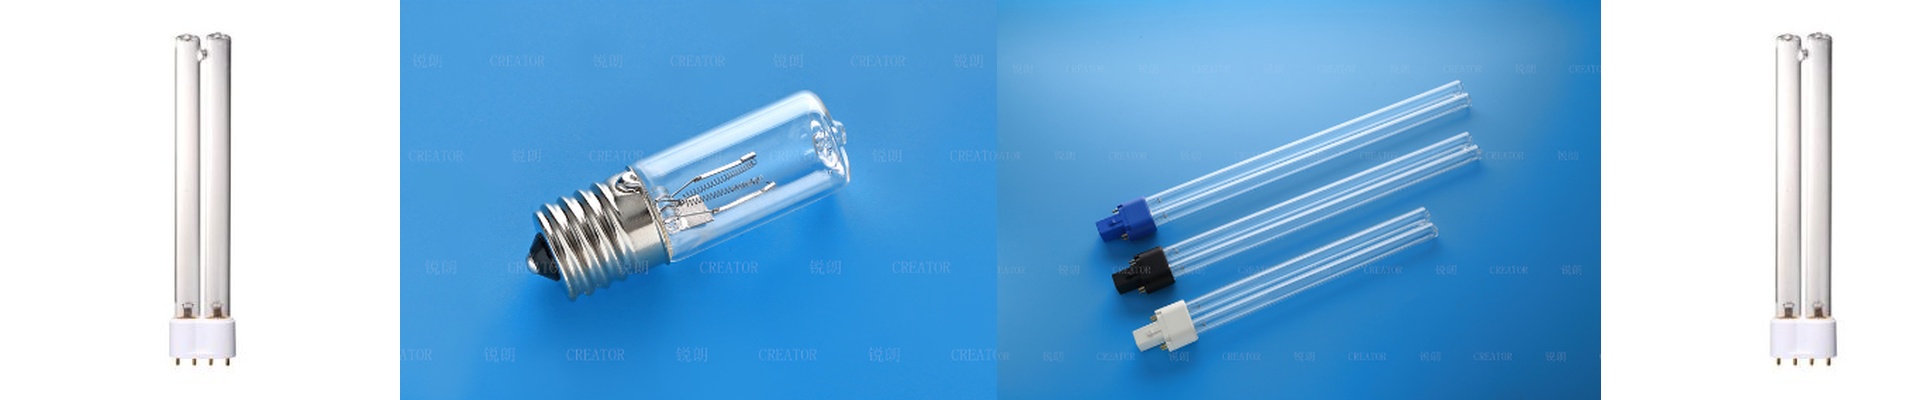
You won’t find regular glass here. We use high-purity fused quartz because standard glass just blocks UV light. Quartz lets it fly right through. Inside, we carefully balance the pressure and the amount of mercury to keep the arc steady. Usually, we keep it simple. Unless you need a “doped” lamp to get the light deeper into a thick coating, we avoid adding fillers that might shift the wavelength.
Keeping Things Running
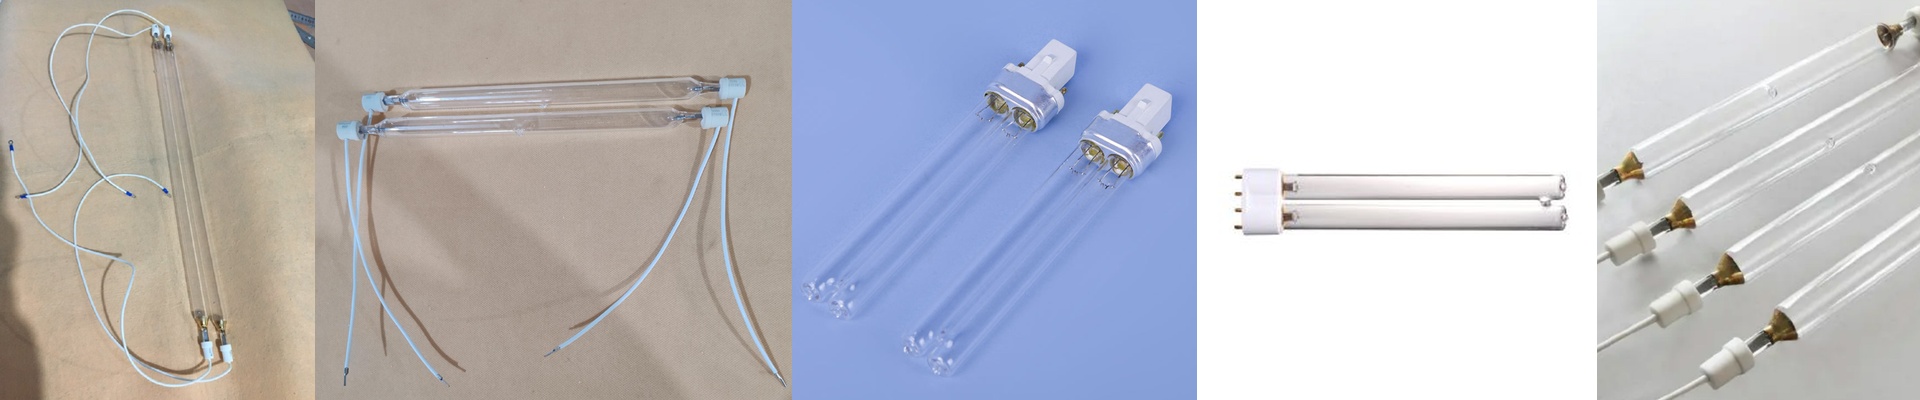
We designed these as drop-in replacements. No one wants to spend half a day on downtime. One quick tip: make sure those electrodes are seated firmly. If the connection is loose, you’ll get arcing at the end-caps. It sounds small, but it’ll burn out your tube way faster than it should. And remember, these lamps don’t last forever. Here is the tricky part: the bulb might still be glowing bright, but the actual UV output is dropping as the electrodes wear down. Don’t guess. Keep an eye on your mW/cm² readings. Once that intensity dips, swap the bulb out. Otherwise, you’ll end up with tacky finishes and under-cured surfaces that just won’t dry.