Getting Your UV Curing Right: A No-Nonsense Guide
Think of UV curing lamps as more than just bulbs. They’re the muscle of your operation. They take liquid ink or coatings and snap them into a solid state in a fraction of a second. It’s basically instant chemistry.
The Power Balance
When we talk about picking a lamp, it all comes down to the wavelength. Your photoinitiators need a specific kind of light to wake up and start working. Most of the time, we stick with mercury-vapor lamps because they cover a wide spectrum. Now, you might be tempted to just crank up the wattage to speed up your line. I get it. Speed is money. But there’s a catch. More power means more heat. If your cooling system can’t keep up, you’re going to fry your electrodes or, even worse, warp the actual product you’re trying to print on. It’s a delicate balance.
The Nitty-Gritty of the Build
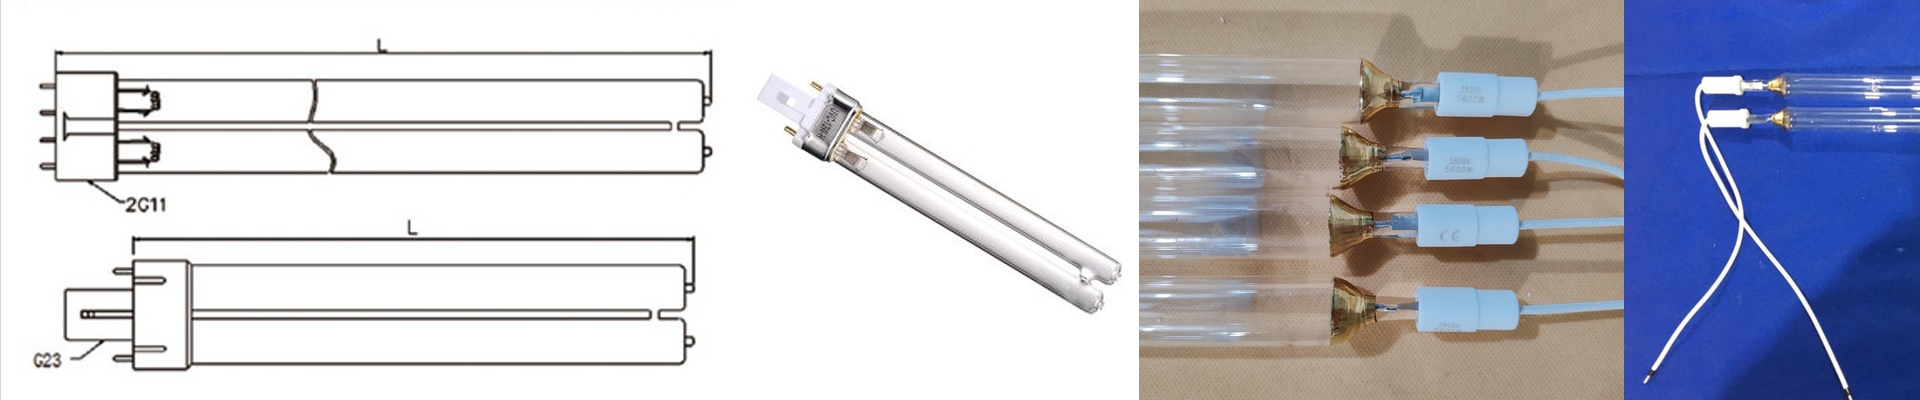
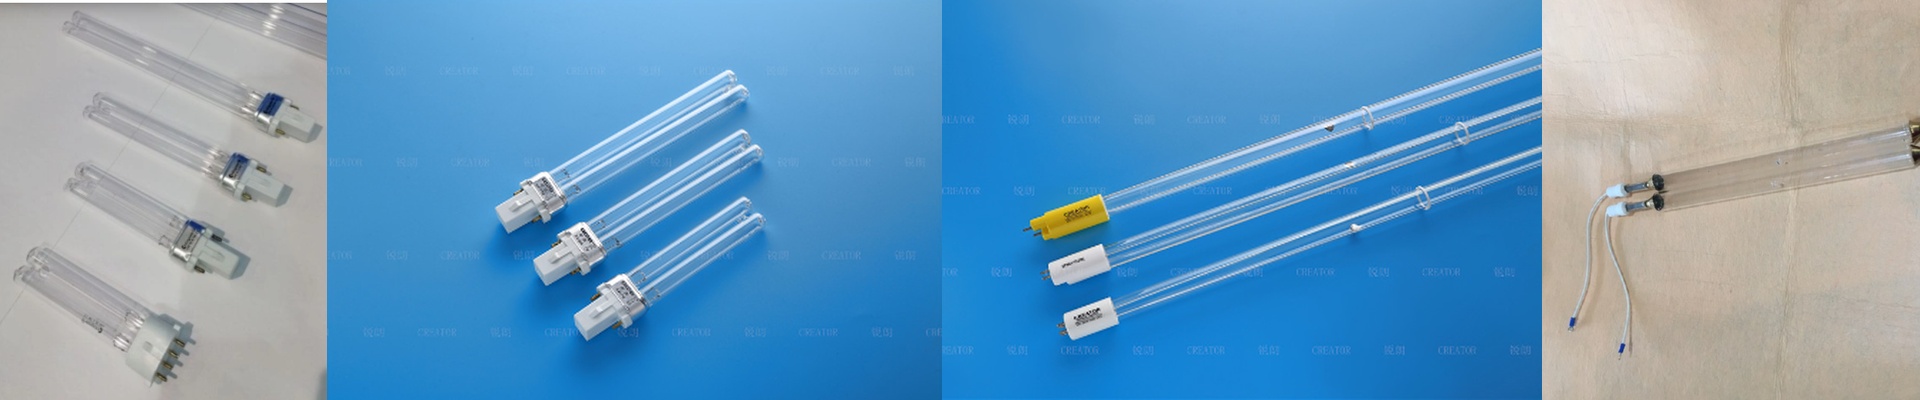
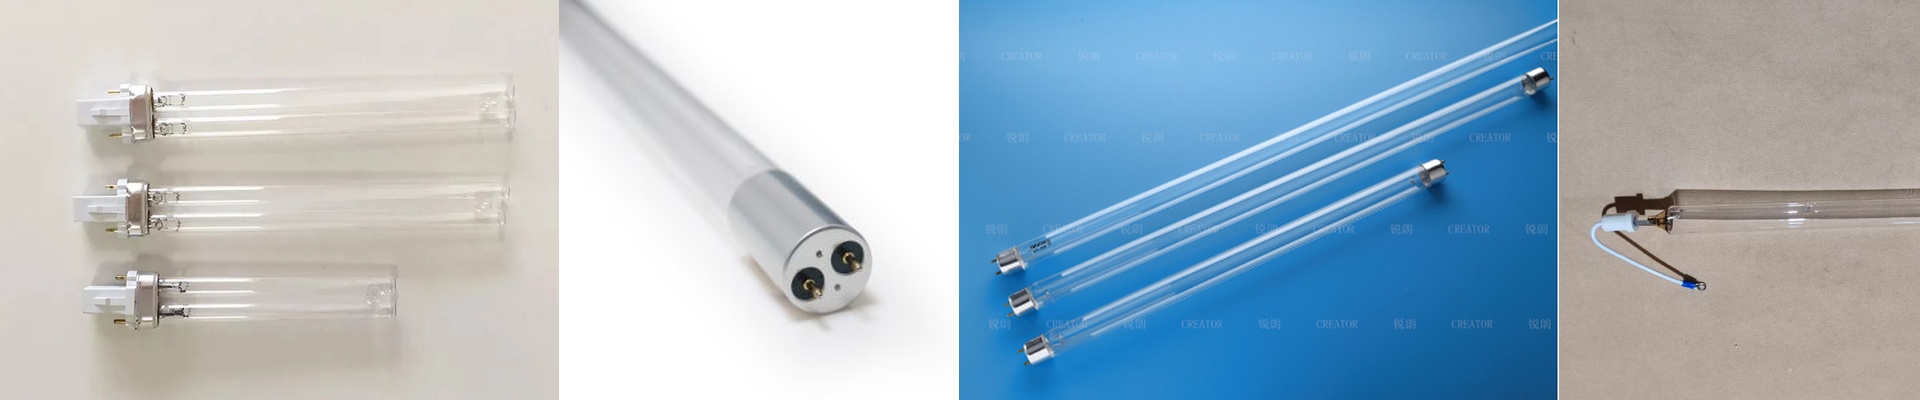
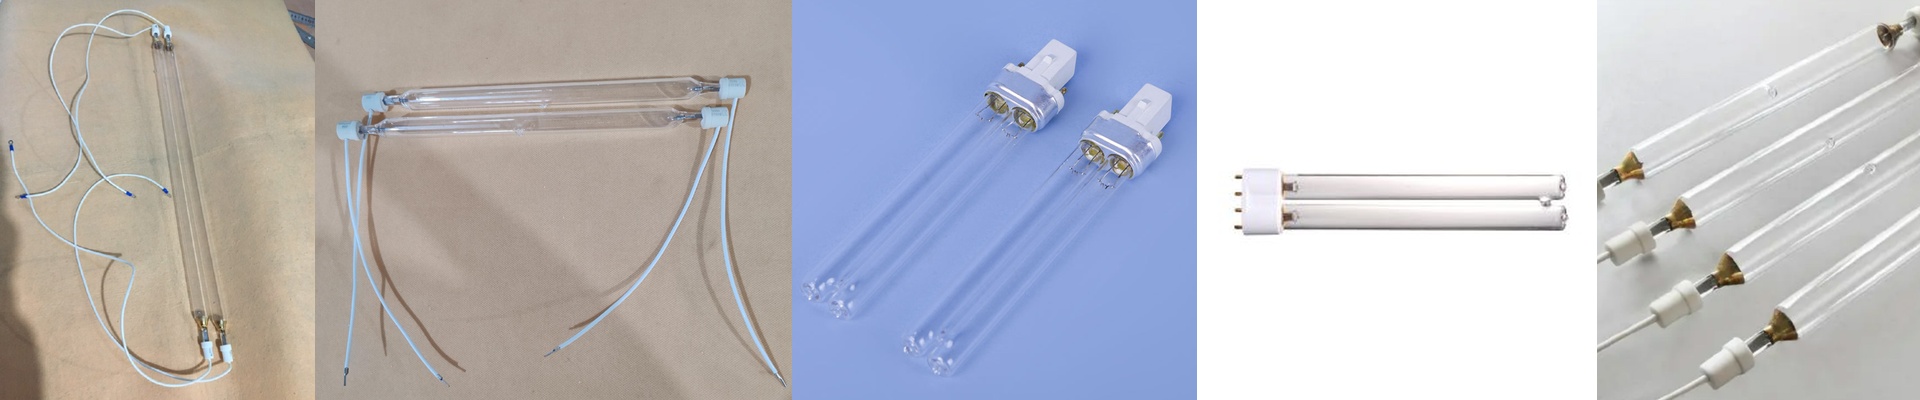
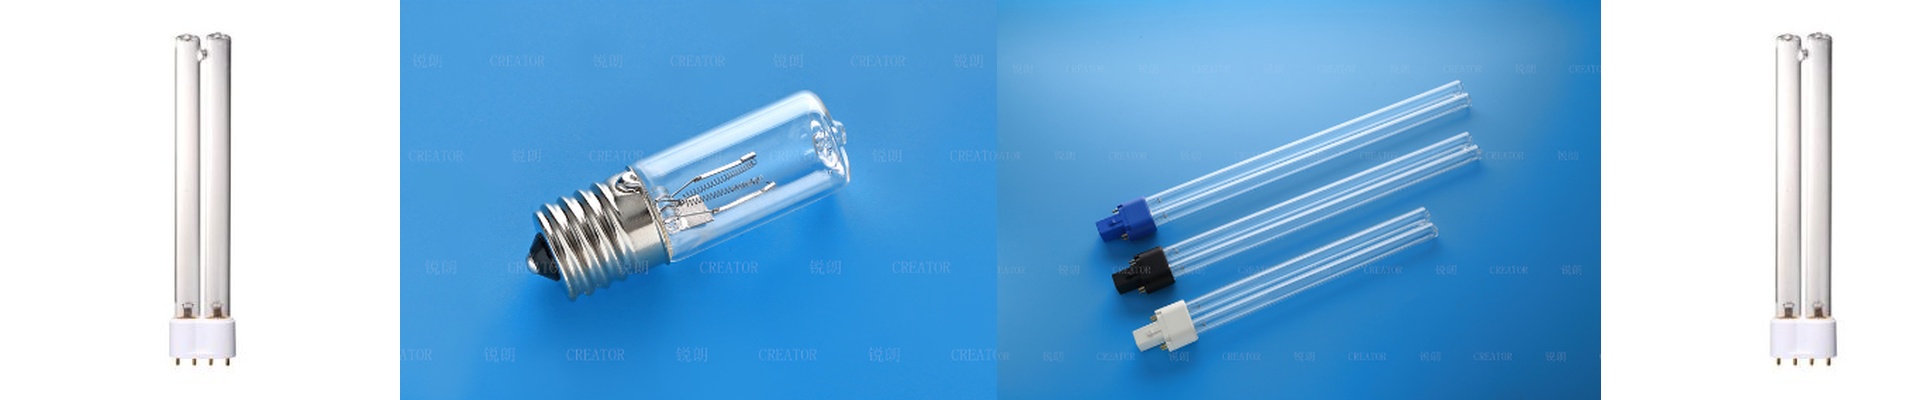
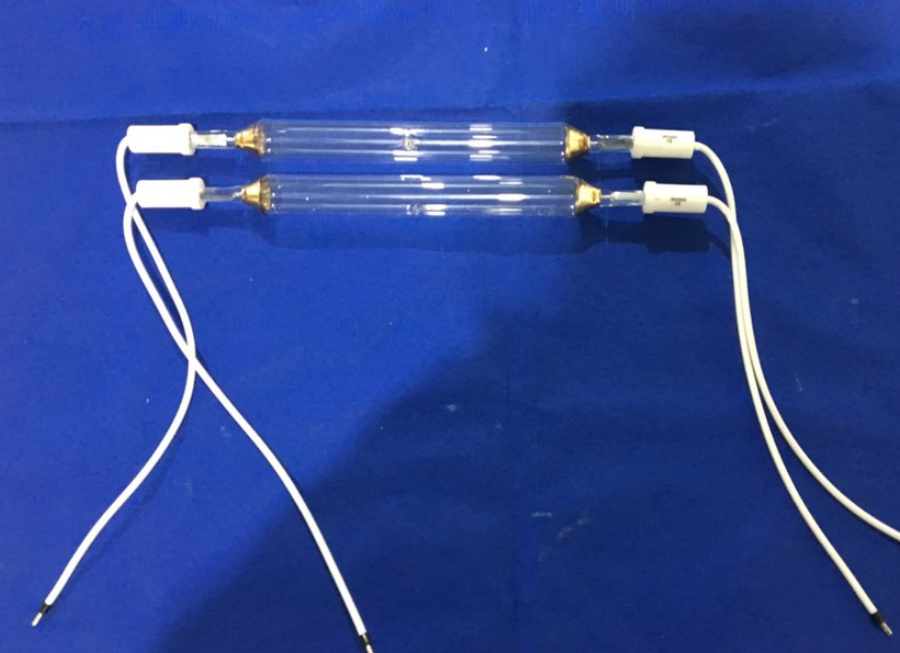
We use high-purity quartz for the glass. Why? Because regular glass is basically a wall to UV rays. Quartz lets the light fly through. We also obsess over where the electrodes sit so you don’t end up with “dead zones” across your conveyor. Here is where a lot of people trip up:the ballast. If the ballast and the lamp aren’t a perfect match, you’re killing your lamp’s lifespan before it even gets started. We make our wholesale units as drop-in replacements. No fancy gymnastics required—they just fit into standard industrial footprints so you can get back to work without a massive headache.
The Trade-offs You’ll Face
High-intensity UV brings a lot of IR heat along for the ride. That’s the tricky part. While the UV is doing its job curing the ink, the heat can cause thin plastics or PET films to blister. If you notice the ink isn’t drying, your first instinct might be to turn up the power.Don’t do that. Instead, check your lamp hours. Once a tube gets old, the light it puts out shifts. It might look bright to you, but it’s no longer hitting those specific wavelengths the chemicals need to react. It’s time for a swap.